Amt-datasouth M1 Bedienungsanleitung
Stöbern Sie online oder laden Sie Bedienungsanleitung nach Drucker Amt-datasouth M1 herunter. AMT Datasouth M1 User Manual Benutzerhandbuch
- Seite / 32
- Inhaltsverzeichnis
- FEHLERBEHEBUNG
- LESEZEICHEN
- User’s Guide 1
- Contents 2
- Copyright Declaration 3
- 1. Introduction 3
- 2. Operations Overview 5
- 2.2 Printer Overview 6
- 3. Setup 9
- Rear external 12
- Peel-off panel 13
- Peel-off roller 13
- Backing paper opening 13
- 3.3 Diagnostic Tool 16
- 4. LED and Button Functions 23
- Release 24
- Release 24
- Release 24
- Release 24
- Self-test 25
- Dump mode 25
- 5. Troubleshooting 28
- 5.2 Print Problem 29
- 5.3 LCD display 30
- 6. Maintenance 31
Inhaltsverzeichnis
0 Fastmark M1 Thermal Transfer Barcode Printer User’s Guide Document #120103
63. Place the roll between the holders and close them onto the core. 4. Place the media, printing side face up, through the media guides, over me
75. Close the top cover gently and make sure the cover latches securely. 6. Use “Diagnostic Tool” to set the media sensor type and calibrate the
83.2.2 Loading External Media 1. Open the printer’s top cover and separate the media holders to fit the media width. 2. Press down the media holder
93.2.3 Loading Media in Peel-off Mode (Optional) 1. Refer to section 3.2.1 to load the media. 2. Open the top cover and peel-off panel after calibra
104. Push the peel-off panel back to the printer. 5. Close the top cover gently. 6. Press the FEED button to test. Note: Please calibrate the
113.2.4 Loading Media in Cutter Mode (Optional) 1. Refer to section 3.2.1 to load the media. 2. Lead the media through the cutter paper opening.
123.3 Diagnostic Tool The Diagnostic Utility is enclosed in the CD disk \Utilities directory. The Diagnostic Utility is a toolbox that allows users t
133.3.2 Printer Function (Calibration/setup) 1. Select the PC interface connected with bar code printer. 2. Click the “Function” button to setting.
143.4 Setting Ethernet by Diagnostic Utility (Optional) The Diagnostic Utility is enclosed in the CD disk \Utilities directory. Users can use Diagnos
153.4.2 Using Ethernet interface to setup Ethernet interface 1. Connect the computer and the printer to the LAN. 2. Turn on the printer power. 3. St
iContents Copyright Declaration...i 1. Introduction
167. Click “Change IP Address” to configure the IP address obtained by DHCP or static. The default IP address is obtained by DHCP.
173.5 Install MicroSD Memory Card 1. Open the SD memory card cover located on the left side of the printer. 2. Insert the MicroSD card into the so
183.6 Mount the Printer on the Wall There are three holes in the bottom of printer. The printer can be mounted on the wall with 1/8” head screws.
194. LED and Button Functions This printer has one button and one three-color LED indicator. By indicating the LED with different color and pressing
203. Printer initialization Release 4. Set black mark sensor as media sensor and calibrate the black mark sensor Release 5. Set ga
21Self-test Printer will print the printer configuration after gap/black mark sensor calibration. Self-test printout can be used to check if there is
22 Note: 1. Dump mode requires 2” wide paper width. 2. Turn off / on the power to resume printer for normal printing. 3. Press FEED button to back
23 4.3.4 Set Media Black Mark Sensor and Calibrate Please follow the steps as below. 1. Turn off the power switch. 2. Hold on the button then turn o
245. Troubleshooting The following guide lists the most common problems that may be encountered when operating this bar code printer. If the printer
255.2 Print Problem Problem Possible Cause Recovery Procedure Check if interface cable is well connected to the interface connector. Re-connect ca
iCopyright Declaration Information in this subject to change without notice and does not represent a commitment on the part of AMT Datasouth Corpora
265.3 LCD display This section lists the LCD display messages that you may encounter when operating the printer. Also, it provides solutions. Mes
276. Maintenance This session presents the clean tools and methods to maintain your printer. 1. Please use one of following material to clean the
28 Corporate Headquarters Manufacturing/Service803 Camarillo Springs Road, Suite-D 5033 Sirona
iiCAUTION 1. HAZARDOUS MOVING PARTS IN CUTTER MODULE. KEEP FINGER AND OTHER BODY PARTS AWAY. 2. THE MAIN BOARD INCLUDES REAL TIME CLOCK FEATURE HAS L
12. Operations Overview 2.1 Unpacking and Inspection The Fastmark M1 printer has been specially packaged to withstand damage during shipping. Pleas
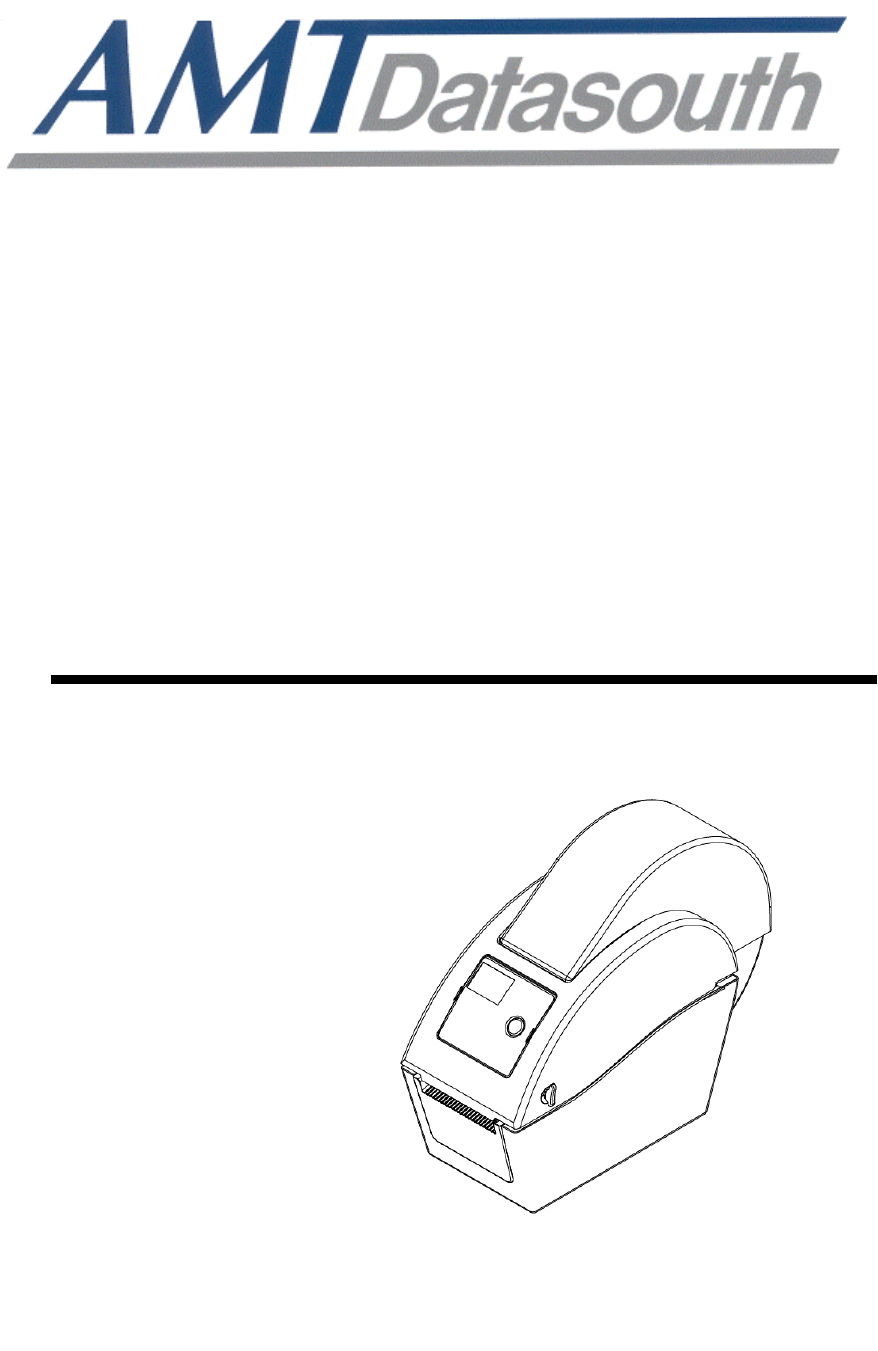
22.2 Printer Overview 2.2.1 Front View 1. Top cover open lever 2. MicroSD card socket 3. Media view window 4. LED indicator 5. Feed button 6.
32.2.2 Interior View 1. Top cover 2. Media holder 3. Media guide 4. Printhead 5. Gap sensor (receiver) 6. Gap sensor (transmitter) 7. Platen r
42.2.3 Rear View 1. Power switch 2. Power jack socket 3. USB interface 4. RS-232C interface (Optional) 5. Fan-fold paper entrance chute
53. Setup 3.1 Setting Up the Printer 1. Place the printer on a flat, secure surface. 2. Make sure the power switch is set to “off”. 3. Connect the pr
Verwandte Produkte und Handbücher für Drucker Amt-datasouth M1
 (73 Seiten)
(19 Seiten)
(73 Seiten)
(19 Seiten)
© 2020, manymanuals.de. Alle Rechte vorbehalten. | 1.007 s |
 Manymanuals.com
 Manymanuals.de
 Manymanuals.fr
 Manymanuals.it
 Manymanuals.pl
 Manymanuals.cz
 Manymanuals.es
 Manymanuals-pt.com
Kommentare zu diesen Handbüchern